
As the entire teaching community is coming to terms with remote teaching and learning, we’re all trying to figure out just how to make this venture successful for students and for us. Spurred on by Elisabeth Bowling’s recent blogpost and some wonderful feedback from Nikki McGee, I wanted to share how my department have approached setting work for students and why I think it works well.
What was the problem?
During the last lockdown, as I’m sure many people found, I wasn’t entirely sure would work in terms of remote learning. To begin with, the work I set was simply copies of the PowerPoint slides I would otherwise have used in class; copy and pasted sections of student work-booklets; and a blank Google Doc for students to complete the work on.
It didn’t take long for it to become apparent that this was not the ideal way to provide work to students – if nothing else, that blank Google Doc was entirely overwhelming to students. I can imagine their questions now: ‘Where do I start?’, ‘What if I write the wrong thing?’, ‘What do I even have to write down’?
Next came the advent of Oak National Academy. ‘Ah-ha!’ I thought, a more familiar type of teaching for students. So the work I set evolved into… a video from Oak National and a blank Google Doc. I’d set the work, wait patiently for completed documents to come flooding in and – much of what I got were disappointingly sparse Google Docs.
But why?
The fault doesn’t lie with Oak National (a fantastic resource, which full disclosure, I have since helped contribute towards). The fault doesn’t lie with students or even with Google for creating such a blank and intimidating document. It was my fault: I hadn’t been clear with my expectations of students.
How to overcome the problem
So, time to do something different. The first experiment was one I undertook with my year 10 class, who at the time were working through some work to consolidate their approaches to Language Paper 1 using an Oak National Academy video as one of their resources.
I watched the video in its entirety and copied out every single question which the teacher had asked and left blank spaces for students to write their answers in. Foolproof, right? Well, not quite. While most students completed a lot more work with this template; to many it was still a scary looking block of text. Added to that, they had to make sure that they’d opened the right document and video combination, which proved to be a further barrier to every student completing the work which was set.
Fast-forward several iterations and I think I’ve found a template which works for almost everybody. Here’s what all of my lessons using this template involve:
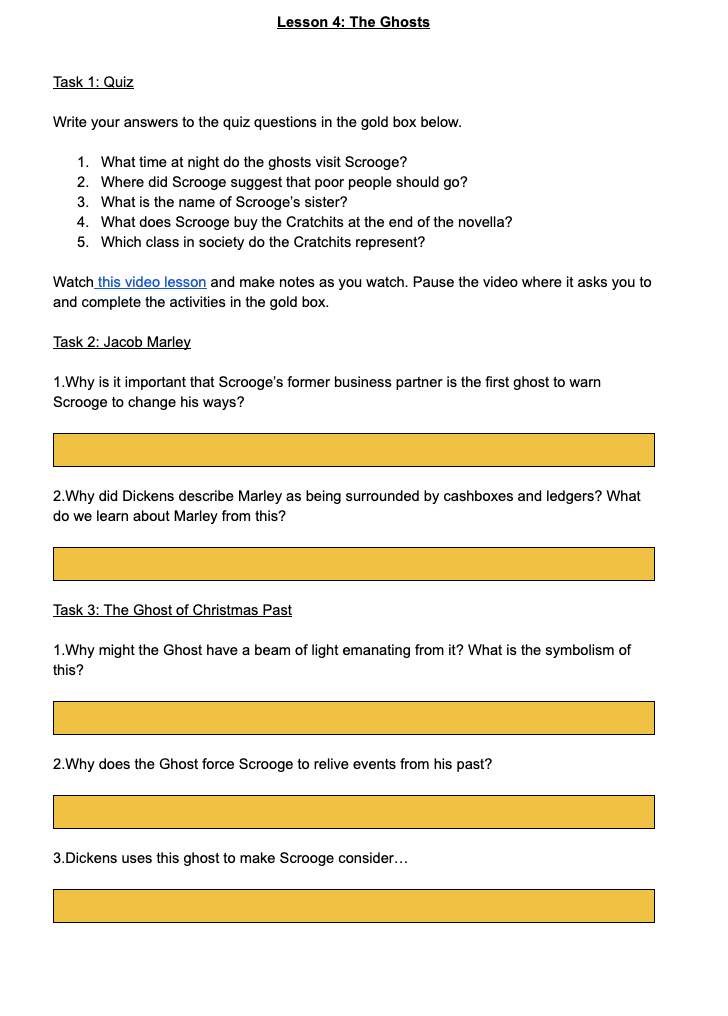 1. A short recap quiz of prior knowledge. Easy to answer questions which ease students into the lesson. Giving students that feeling of success from the very beginning means their more likely to stick around and work hard for the rest of the lesson!
2. A link to the video lesson (in this example, one which I recorded on Loom) embedded straight into the document. No more searching around for the right video or navigating different websites. Everything’s easily accessible. The video lessons start off by answering the quiz questions, giving a bit of interaction between me and the students.
3. Boxes for students to write in. On each Google Doc, I use a 1 cell table and fill it with a bright colour. Students know exactly where they are expected to write. Because the box grows as they type, there’s no big scary box which they might feel the need to fill. This simple inclusion has reduced anxiety for some students around who might otherwise have found the act of writing down their answers quite scary.
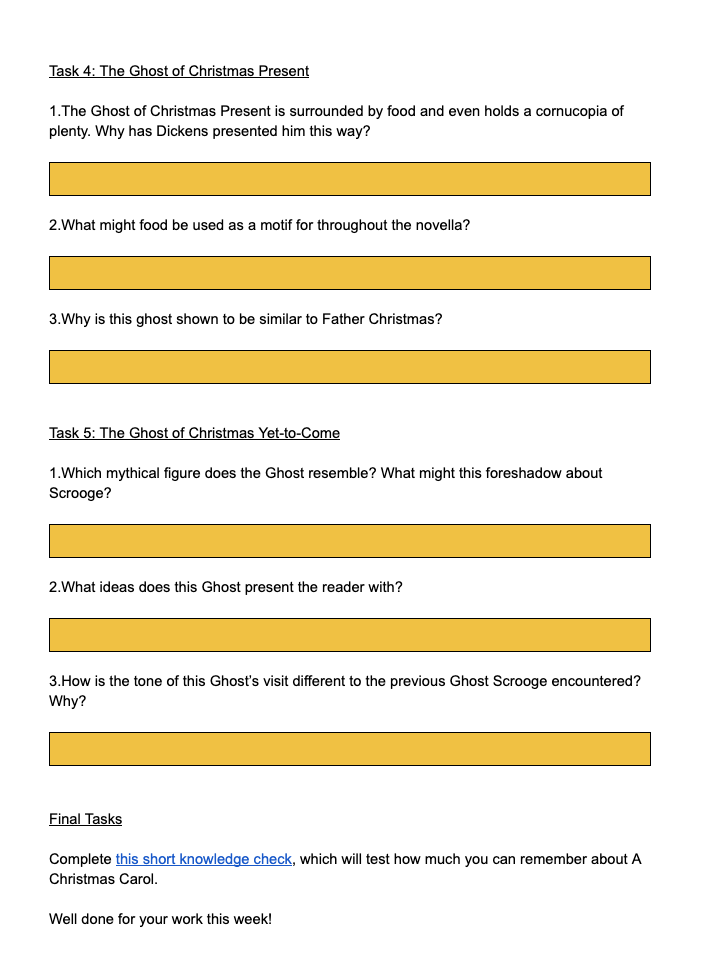
4. Several tasks which are explicitly taught in the video lesson and which are clearly broken up on the page. During the lesson, I almost give students the exact answers to write in the boxes. For some students, this is enough – they write what I tell them and they feel empowered as the boxes start to fill up with their work. For others, the answers I give are the beginning and they are confident enough to add their own analysis or thoughts.
5. To finish it all off, I created a quiz on Google Forms which tested the key knowledge I wanted to students to remember from the lesson. The link to this self-marking quiz is embedded straight into the Google Doc so students know that it is there. The quiz serves several purposes: Firstly, it gives students a chance to show what they’ve learned – who doesn’t love getting 100% on a quiz? The self-marking nature of the quiz also means that should a student get something wrong, they are immediately presented with the correct answer. Finally, it meant that every student who took that quiz – which in this case was the whole of year 10 – had their answers recorded on a spreadsheet which was shared with the whole department. That way, we knew what students had grasped and what they hadn’t quite understood properly, meaning our teaching could be more reactive.
Why make worksheets like this?
Remote learning is stressful enough for both students and staff. The more simple we can make resources for students to use, the more likely they are to complete the work to a good standard. The more students engage with remote learning, the less ‘left behind’ they’ll feel when they return to school. Just like in school, using resources which follow a similar structure and routine reduces the amount of anxiety students feel towards trying to figure out how to approach a task, or open the right video or worksheet or quiz; thereby giving them more bandwidth to focus on the actual learning at hand.
I’m sure this isn’t the perfect template, but as a department we’ve found it works quite well for us. More importantly, the rate of completion of the work I’d set for my classes rocketed after using this layout so students must appreciate it too!
This template should work for lessons in most subjects; I know from conversations with others at my school who have adopted a similar layout that they have found it useful.

Leave a comment